N8N Round Robin Implementation - Step By Step Guide
Running N8N on your own infrastructure? This guide shows you how to add fair, weighted round-robin lead assignment to any N8N workflow using Robin Router webhooks.
What You Need
- An N8N instance — self-hosted or N8N Cloud
- A Robin Router account with a workflow and at least two robin group members
If you're self-hosting N8N, make sure your server has outbound HTTPS access to api.robinrouter.com.
Step 1: Copy Your Webhook URL from Robin Router
In Robin Router, open your workflow and go to the Endpoint tab. Copy the webhook URL.
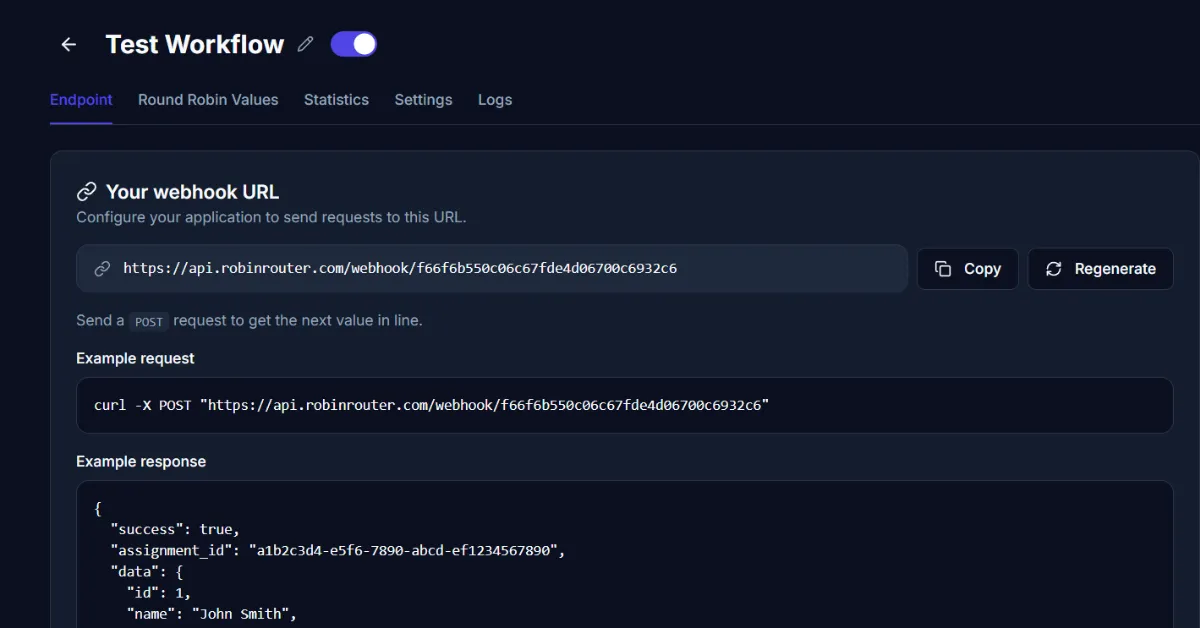
https://api.robinrouter.com/webhook/your-tokenThis URL authenticates via the token in the path. Keep it secure.
Step 2: Create a New Workflow in N8N
In N8N, create a new workflow. Add your trigger node. Examples:
- Webhook — Receive incoming POST requests from your website
- Cron / Schedule Trigger — Poll for new leads on a schedule
- HubSpot Trigger — React to new CRM contacts
- Google Sheets Trigger — Watch for new rows
- Email Trigger (IMAP) — Process leads that arrive via email
- Postgres / MySQL Trigger — Watch your database for new leads
The trigger type doesn't affect the Robin Router integration.
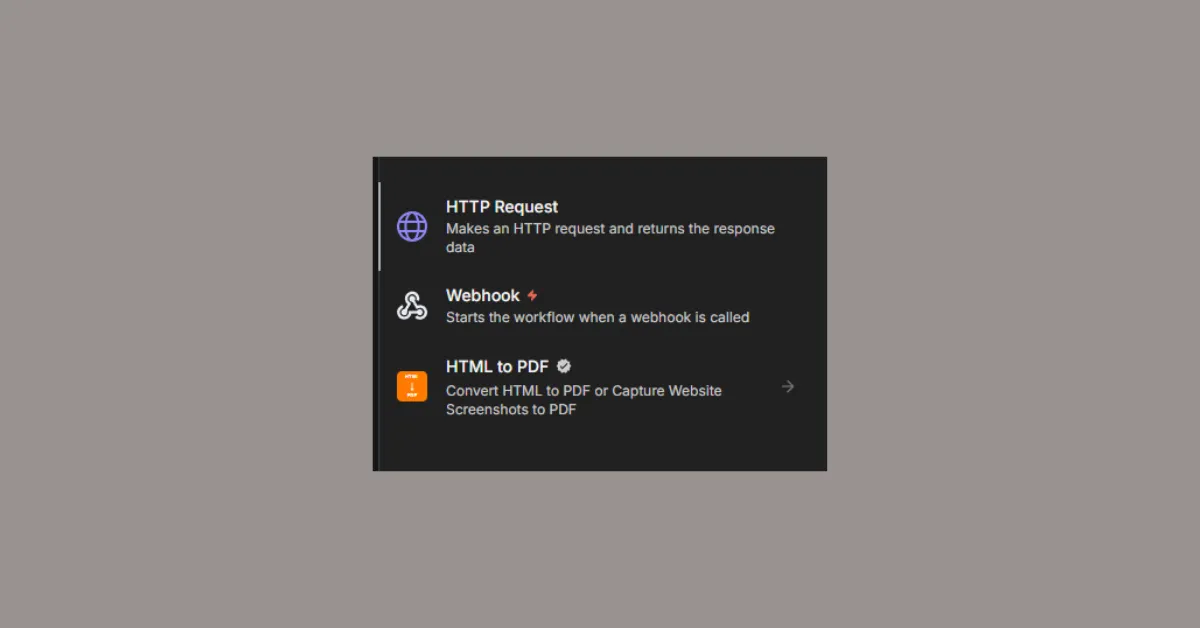
Step 3: Add an HTTP Request Node
After your trigger, add an HTTP Request node.
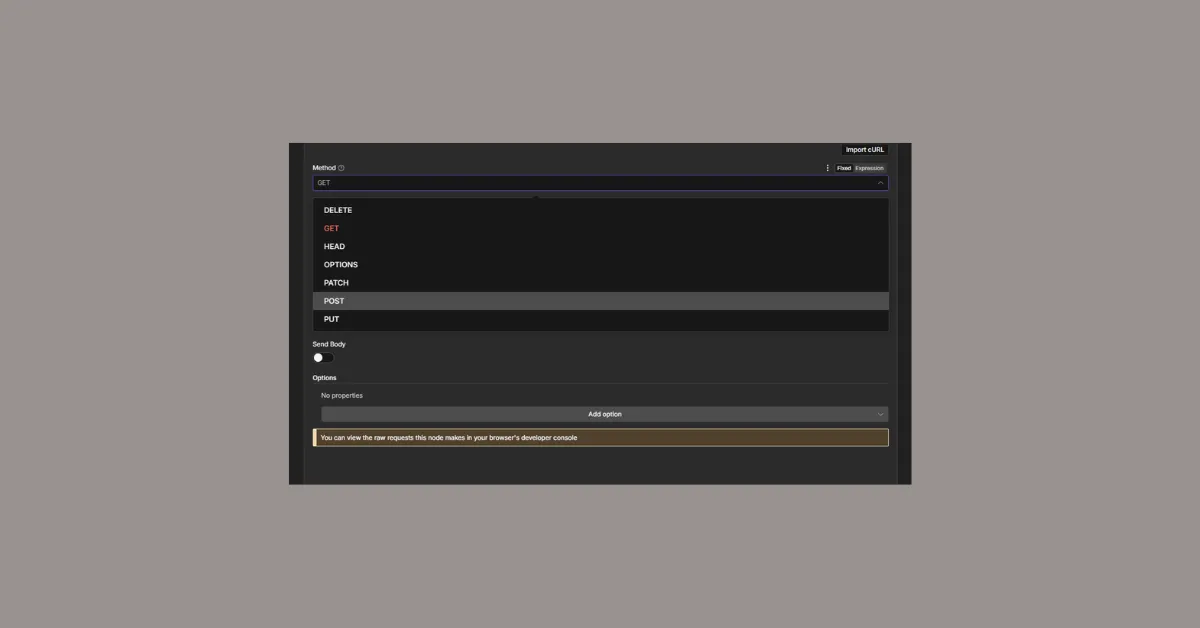
Configure it:
- Method: POST
- URL: Your Robin Router webhook URL
- Authentication: None (authentication is handled by the URL token)
- Send Body: Toggle on if you want to send lead data
Step 4: Configure the Request Body (Optional)
If you want to log lead data with the assignment, enable Send Body and set:
- Body Content Type: JSON
- Specify Body: Using Fields (or JSON)
Example JSON body:

{
  "input_data": {
    "name": "{{ $json.name }}",
    "email": "{{ $json.email }}",
    "source": "website_form"
  }
}
If you just want the assignment without logging, skip the body. A POST with an empty body works fine.
Step 5: Execute and Verify
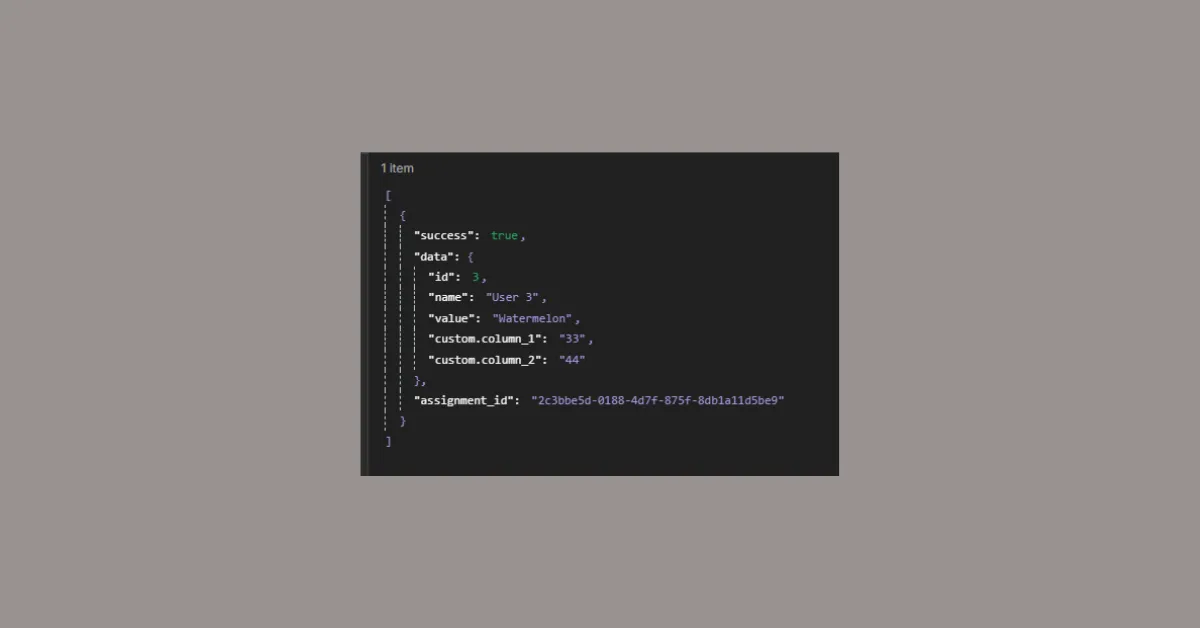
Click Execute Node or run the full workflow. The HTTP Request node shows the response:
{
  "success": true,
  "assignment_id": "782ce737-9b2e-41e6-8114-ef1022a1b711",
  "data": {
    "id": 4,
    "name": "User 4",
    "value": "user4@company.com",
    "custom_column_1": "44",
    "custom_column_2": "55"
  }
}
The data object contains the assigned member's details. Access them in subsequent nodes via expressions like {{ $json.data.name }} or {{ $json.data.value }}.
Step 6: Add Downstream Nodes
Add nodes after the HTTP Request to act on the assignment:
- HubSpot / Salesforce / Pipedrive node — Update the lead's owner to the assigned rep
- Slack node — Notify the assigned rep
- Postgres / MySQL node — Insert an assignment record into your database
- Send Email node — Trigger a personalized outreach email
- IF node — Branch logic based on the assigned member's attributes
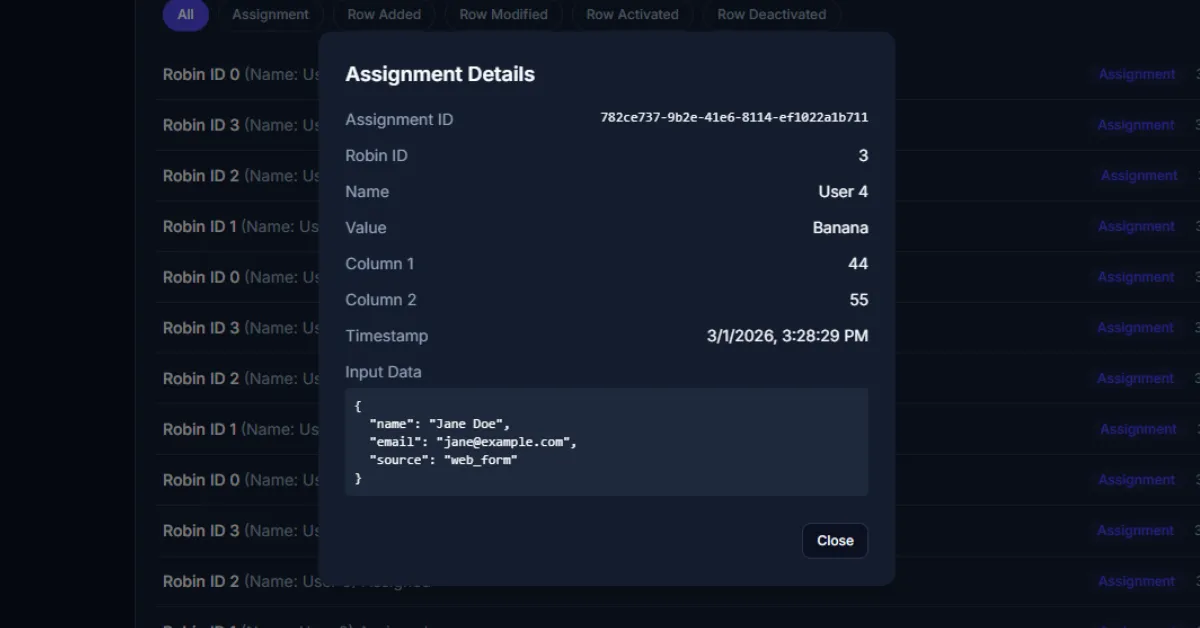
Step 7: Verify in Robin Router Logs
Back in Robin Router, go to the Logs page to confirm the assignment was recorded. Click any entry to see the full details — assigned member, custom columns, timestamp, and input data.
Done
Your N8N workflow is connected to Robin Router. Every trigger execution assigns the next rep in the round-robin automatically. Configure availability toggles and fallback members in the Robin Router dashboard — changes take effect immediately without touching your N8N workflow.
Works identically on self-hosted N8N and N8N Cloud.